STEP 1: DESIGNING A 3D JEWELRY MODEL
Although some designers, sculpturally oriented, might carve a design into being, almost all jewelry begins with a sketch of a piece of jewelry. Although some computer programs now exist to standardize this process, many designers still prefer pencils. Whatever method they use, designs are often drawn from different perspectives since almost all jewelry is three-dimensional in concept.
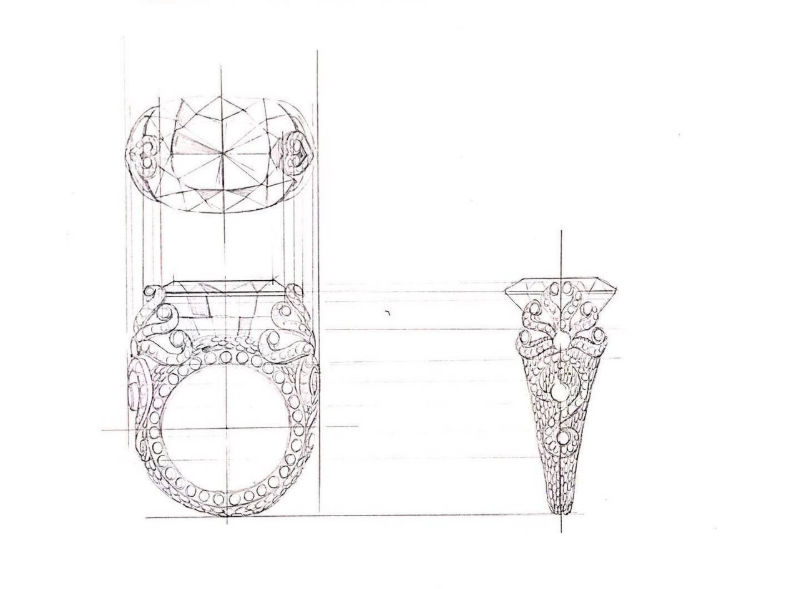
The sketch also needs to be in proportion, so that the size of the stone can be calculated. Most cast jewelry is set with standard size gems, so the designer needs to plan which of these sizes will be used. Sometimes the design is created with variations for different stone sizes and shapes.

After the initial idea and/or sketch is developed, it’s time to start work on the digital model. Using CAD (Computer-Aided Design) software, the 3d designer will make a digital render of your jewelry. Depending on the complexity of the project and how busy the studio or artist is, this can take anywhere from a day to a week.
STEP 2: 3D WAX PRINTING YOUR JEWELRY
That 3d model from the last step wasn’t only for you to see a sample ahead of time; it also serves as the basis for the next step, the wax model. In most modern jewelry production, the manufacturer uses a 3d printing machine to print a wax model made out of resin, which usually doesn’t take more than 48 hours.
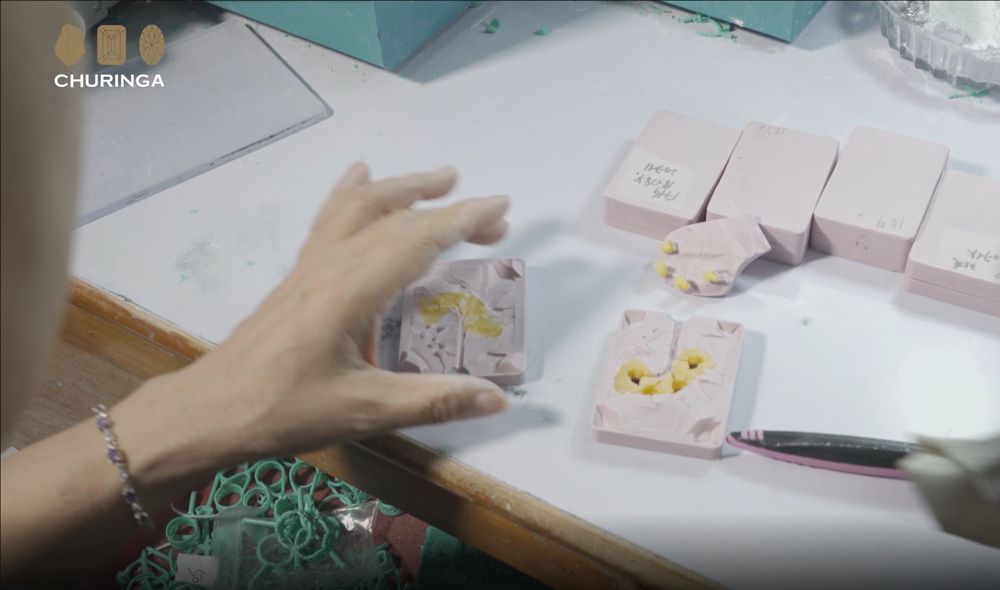
The Rubber Mold
The original model is encased in plaster-like investment, which is specially created for jewelry making. After the investment sets, the encased wax model is burned away in an oven, leaving a jewelry-shaped void in the hardened investment. That space is filled with silver, forming a slightly smaller duplicate of the original wax design, which is polished to perfection. The silver master model is then packed into a fat sandwich of special mold rubber and squeezed tight under high heat and pressure until it forms a solid block. The rubber forms itself around the master model, creating a perfect three-dimensional impression of the piece of jewelry. The rubber is cut in half to remove the silver master. Then the rubber is put back together and hot wax is injected through a hole in the rubber to fill the ring-shaped space inside, forming a wax reproduction of the master model (but a bit smaller).
So all these steps have taken us back where we started: with a wax model of the ring, which is checked again to make sure it is perfect, and any seam mark removed. However, now that there is a rubber mold, any number of these waxes can be created. When it starts to lose detail, a new rubber mold will be created from the master model.
The Wax Tree
To finally turn wax into gold, a number of wax models, usually 10 or 20 are placed on a large branching wax tree. Positioning each piece on the tree must be done carefully, thicker pieces will go on the bottom, thinner on the top and the joint where the piece is joined to each branch must be positioned in a thick place in the design, where there is no detail, like the back of a ring. When the tree is complete, the whole wax structure is placed in a flask.

STEP 3: CASTING THE WAX MODEL INTO METAL
The jewelry goes through the casting process. At this stage, your piece starts looking more like the jewelry you might see in a store. The wax is melted away and is replaced with your metal of choice in molten form, usually gold, silver, or platinum. The metal then dries into the shape on your jewelry. This technique is called “lost wax” casting.
After the mold is hardened and burned out, grains of gold alloy, or mixture of gold and other metals added to it, are melted in a separate casting machine furnace. Most jewelry in the United States is 14k gold, with is a mixture of 58% gold with silver and copper. 18k gold is an alloy of 75% gold, also mixed with silver and copper. To make white gold, nickel or palladium is added to the alloy. To make rose gold, extra copper is used. When the metal is the correct temperature, it is poured into the hardened plaster mold with the tree impression. Sometimes it is spun to make sure that the molten gold quickly fills the topmost branches of the tree, with every detail, before it starts to cool. After the gold hardens the mold is cracked and the golden tree is removed. Individual pieces are separated and sent for finishing.
STEP 4: THE PRE-POLISH
First, the jewelry has to be removed from the branch, or sprue, that held it to the tree in the mold. It is then is tumbled into smoothness, sometimes sanded, lapped to make edges crisp, and then buffed by hand on a polishing wheel. Of course the final piece is checked again to make sure that no errors were introduced during the casting process. In particular, quality controllers check for any signs of porosity in the casting: little grains, voids, or bubbles that indicate that the hot gold didn’t properly fill the mold, creating a strong single unit of metal. Porosity can be an indication of weakness in the metal’s crystalline structure.
STEP 5: BASIC JEWELRY ASSEMBLY
After your jewelry passes through the design and casting stage, the final fabrication can take anywhere from 3 days to 3 weeks. At this point, the jeweler refines the main structure of your ring, necklace or other piece. The jeweler files down the casting skin to reveal the metal underneath. Although casting transformed the jewelry into fine metal, the jeweler needs to make any aesthetic adjustments, as well as make sure the piece can functionally support gemstones.
After the mount is completed, the jewelry is ready for stone setting. If the piece requires enameling work or additional design, this would take place before setting.
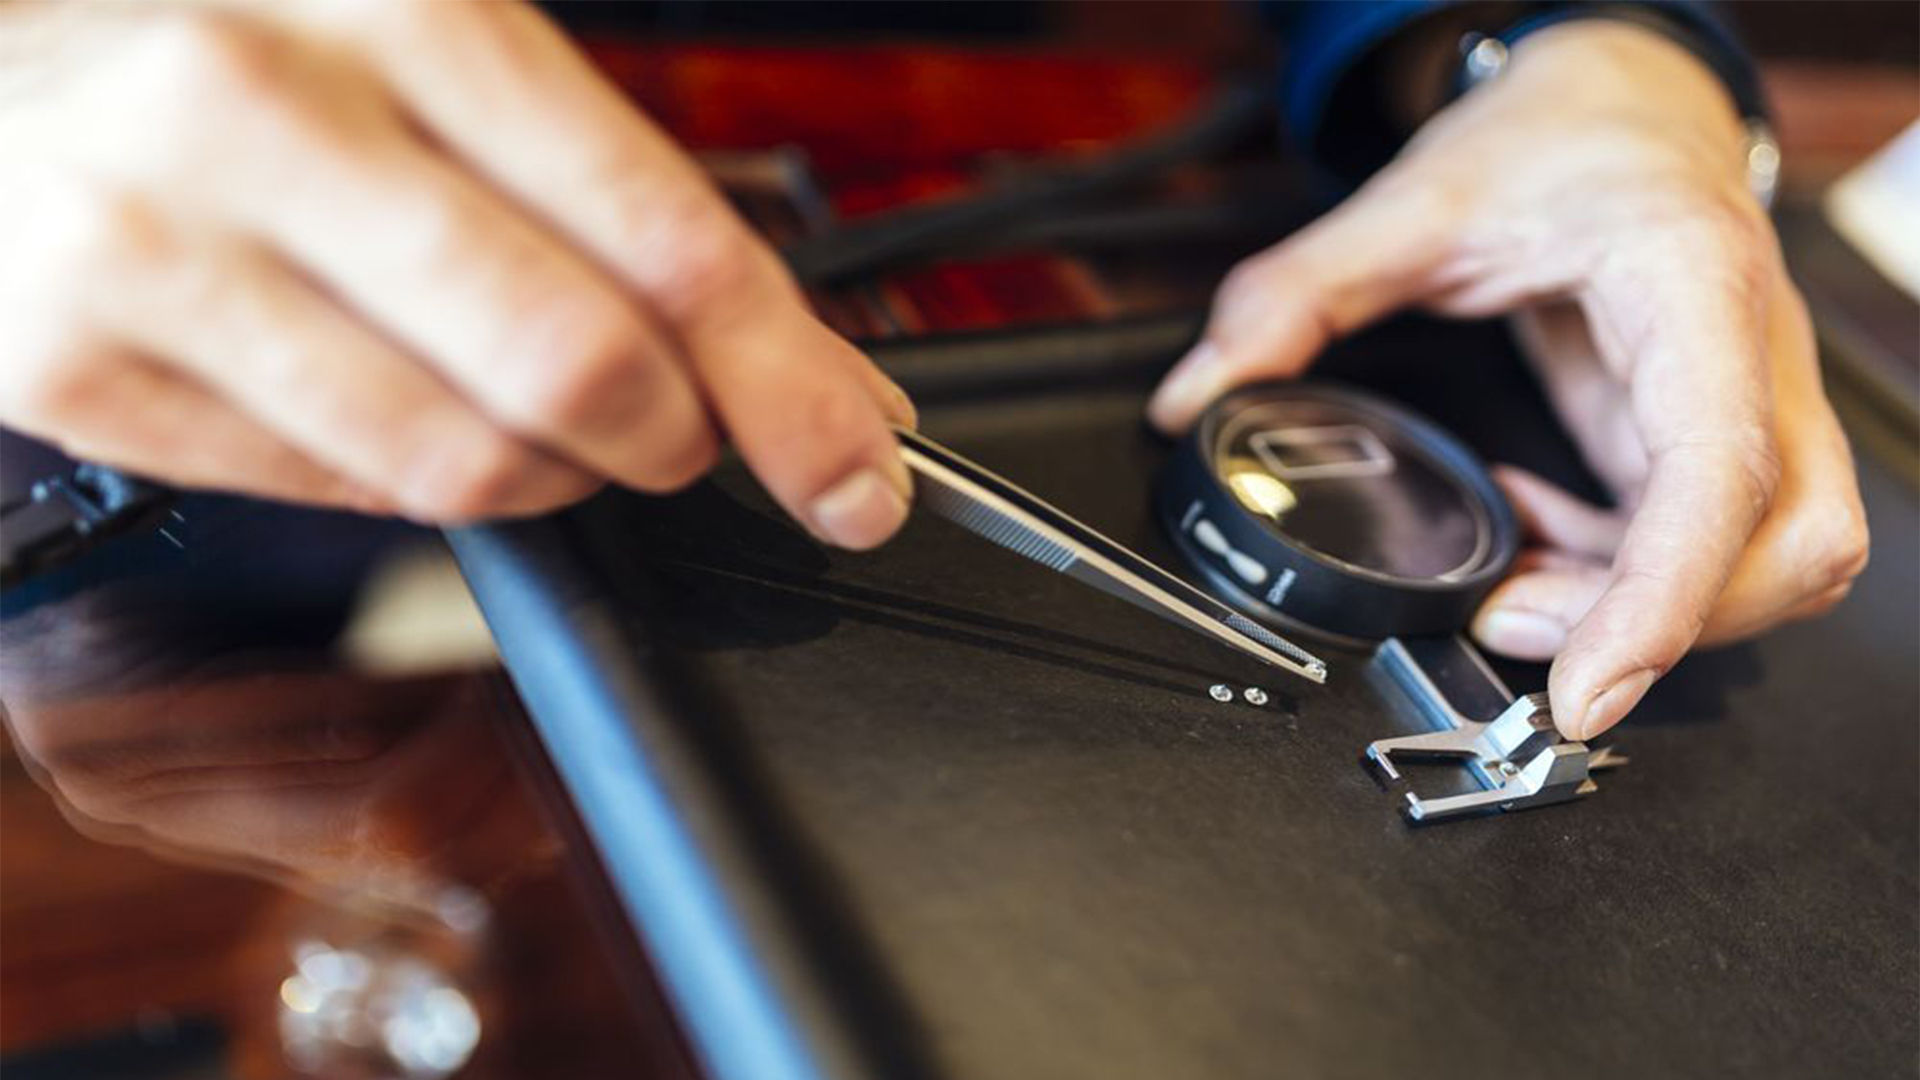
STEP 6: THE STONE SETTING PROCESS
For this step, the diamond setter finally adds the diamonds or other gemstones onto your piece. He carefully sets the central stone into the mount. If side stones are involved, the setter needs to hand drill for these before setting. Using a microscope, they then set each separate stone.
STEP 7: POLISHING, FINISHING, AND QUALITY ASSURANCE
In the final stage, a polisher works to make sure the metal is polished to perfection so it’s as shiny as possible. Or it only needs a light final polish to bring out the luster and shine of the gold. This is done by putting fine red jeweler’s rouge on a soft cotton cloth and buffing the piece by hand, making sure that all the details and highlights shine.
Finally, the jewelry is inspected and each detail is analyzed to make sure production was successful.
Ten articles before and after
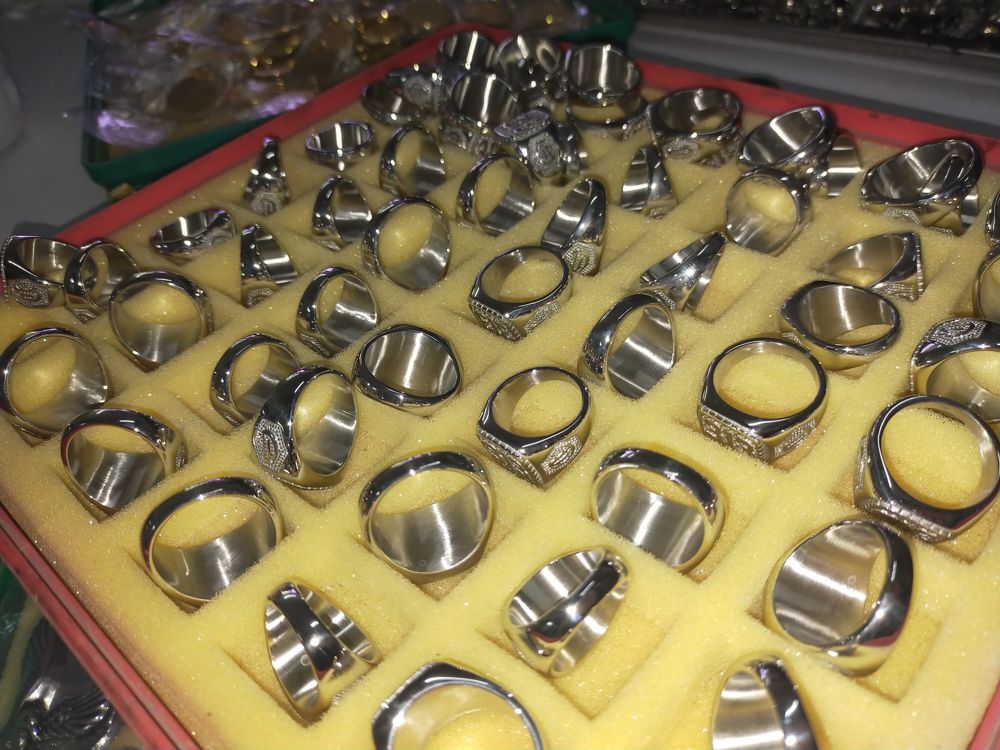
IS STAINLESS STEEL GOOD FOR JEWELRY?
WHY STAINLESS STEEL JEWELRY IS BECOMING POPULAR?
HOW TO CAPTURE THE BEAUTY OF FINE JEWELRY
STAINLESS STEEL 304 VS 304L VS 316 VS 316L Jewelry
HOW TO CARE FOR STAINLESS STEEL JEWELRY?
PROS AND CONS OF STAINLESS STEEL JEWELRY
REASONS JEWELRY MAKES US BETTER HUMANS
