Your idea/concepts with reference pictures or website
Manual hand drew rough sketches
PDF files, JPEG Files, PNGs, etc
Material&Quantity
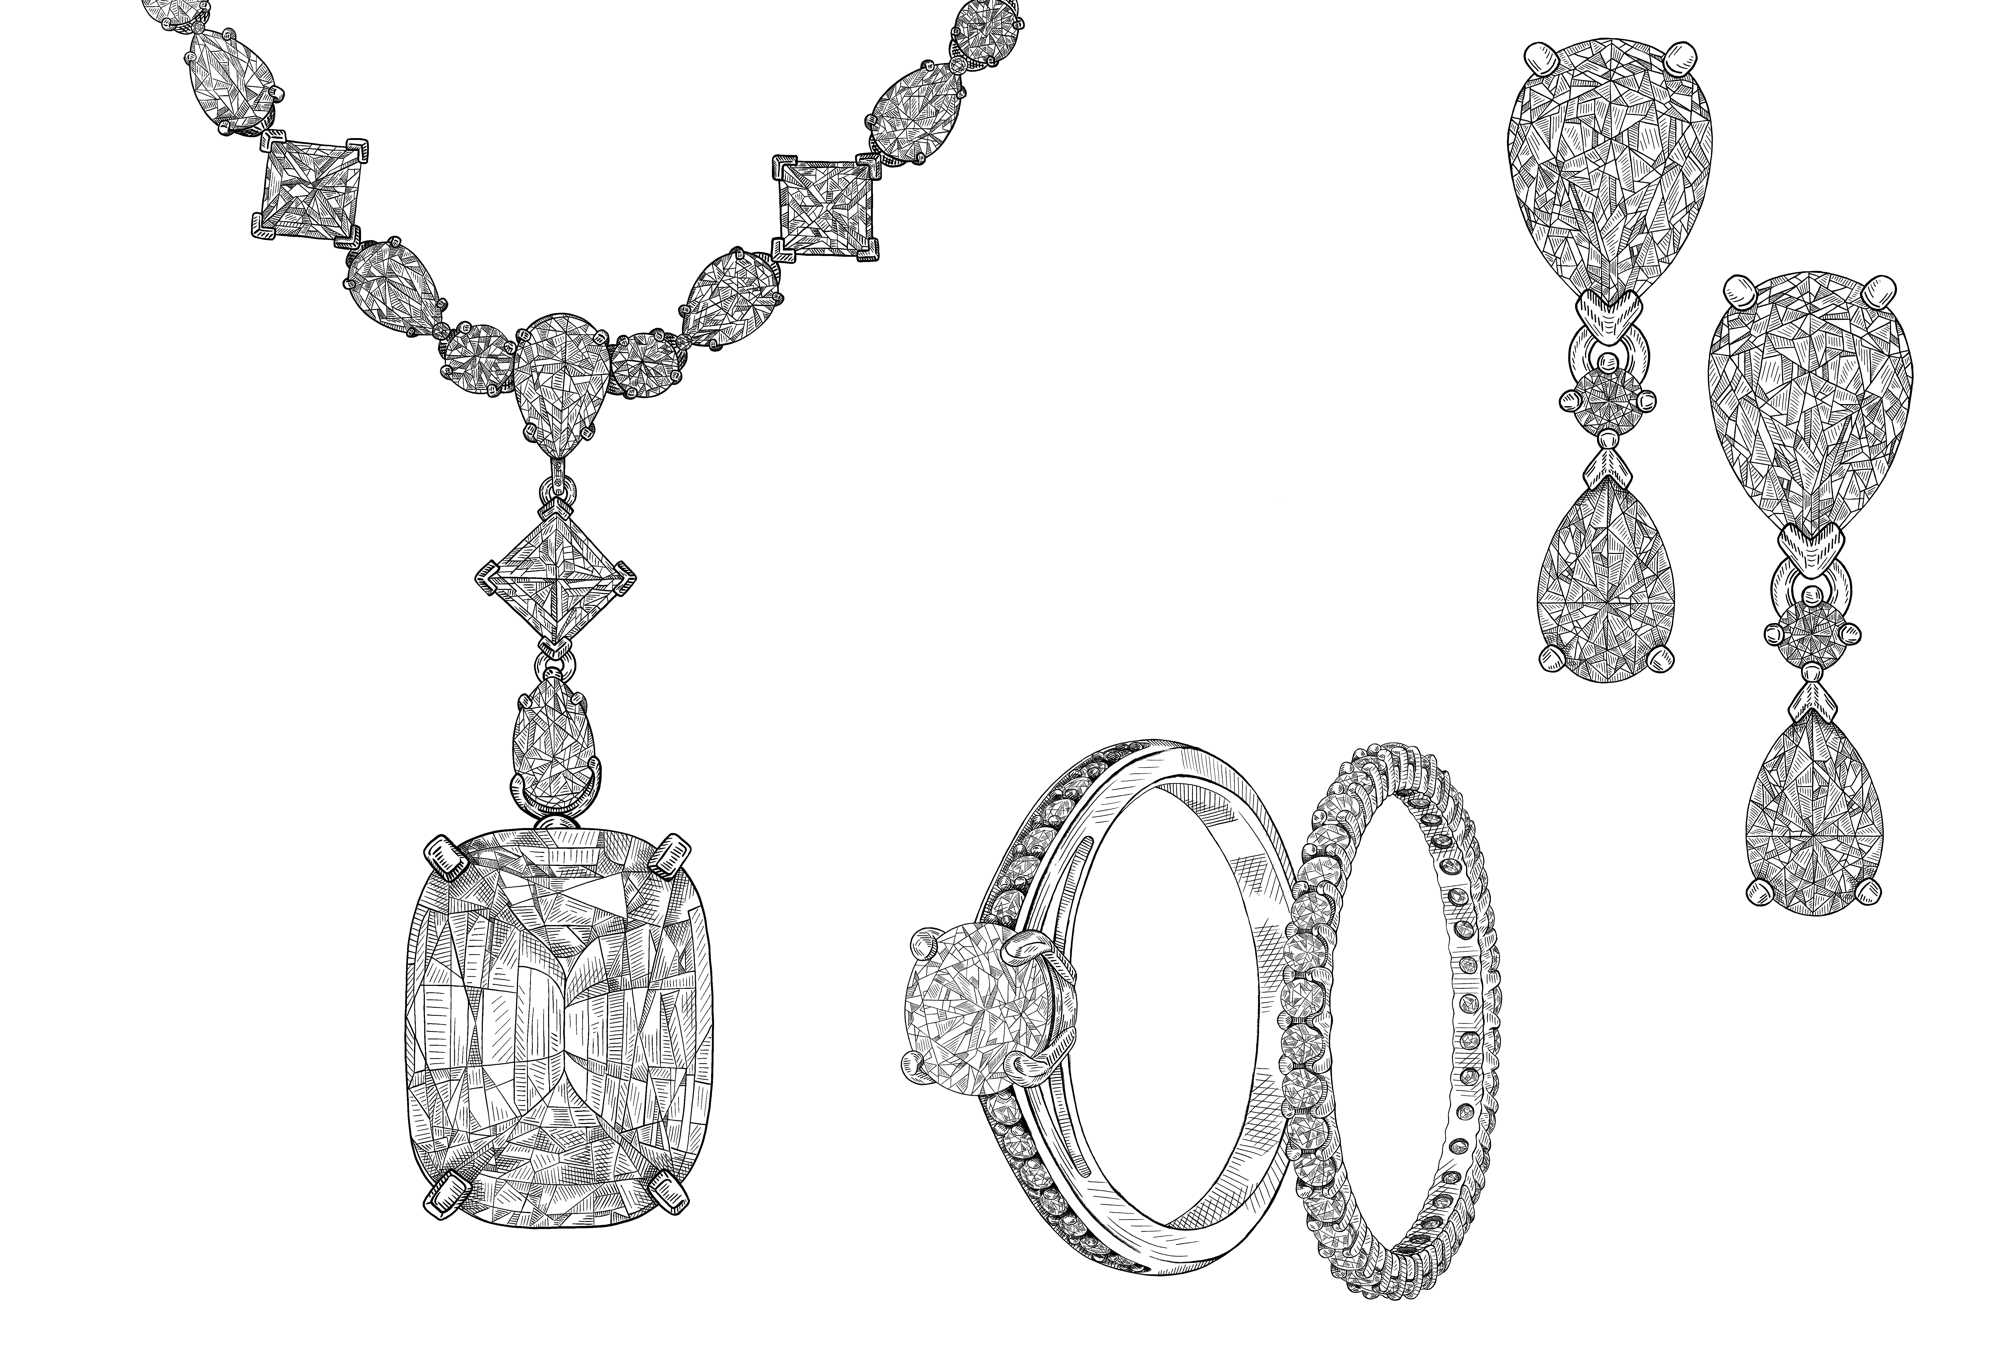
Handmade jewelry, natural pearl, tophus, natural stone with stainless steel chain, delicate and elegant, and design diversified, short production cycle.
Handmade jewelry, natural pearl, tophus, natural stone with stainless steel chain, delicate and elegant, and design diversified, short production cycle.
Use of the latest technology and highly skilled craftsmen
Highest and strict standards of quality control and check
Professional Custom Service since 2004
16 Years of Manufacturing Experience as a Jewelry Supplier
Stock for jewelry wholesale and custom for brand
STEP 1
DESIGNING A 3D JEWELRY MODEL
After the initial idea and/or sketch are developed, it’s time to start work on the digital model. Using CAD (Computer-Aided Design) software, the third designer will make a digital render of your jewelry. Depending on the complexity of the project, this can take anywhere from a day to a week.
STEP 2
3D WAX THE RUBBER MOLD
Burned the encased wax model in an oven, create a duplicate of the original wax design, which is polished to perfection. The silver master model is then packed into a special mold rubber to form a solid block. Take off the silver master first. Then put the rubber back together to form a wax reproduction.
STEP 3
MAKE THE 3D JEWELRY WAX TREE
Turn wax into gold, 10 or 20 are placed on a large branching wax tree. thicker pieces will go on the bottom, thinner on the top and the joint where the piece is joined to each branch must be positioned in a thick place in the design. When it is complete, the whole wax structure is placed in a flask.
STEP 4
PUT THE WAX MODEL INTO METAL
At this stage, your piece starts looking more like the jewelry you might see in a store. The wax is melted away and is replaced with your metal of choice in molten form, usually gold, silver, or platinum. The metal then dries into the shape of your jewelry. This technique is called “lost wax” casting.
STEP 5
THE STONE SETTING PROCESS
For this step, the diamond setter finally adds the diamonds or other gemstones to your piece. He carefully sets the central stone on the mount. If side stones are involved, the setter needs to hand drill for these before setting. Using a microscope, they then set each separate stone carefully.
STEP 6
POLISHING AND FINISHING
To make sure the metal is polished to perfection so it’s as shiny as possible. Or it only needs a light final polish to bring out the luster and shine of the gold. This is done by putting a fine red jeweler’s rouge on a soft cotton cloth and buffing the piece by hand, making sure that all the details are shining.
Our Showroom
The mold we have created before (NOT INCLUDING THE CUSTOMIZED DESIGN)
SEND US YOUR INQUIRY
please fill out the form and we’ll get back to you as soon as possible.